How to modify the Windows Setup boot image
How to apply changes to ISO file so you can have access to additional files in Windows Preinstallation Environment (WinPE)


Table of contents
I'm using Windows 11 *.iso, so details can be different on other versions - overall idea should be the same. This is being done for years to older images.
Process summary
This is three-phase process.
- Extract ISO content.
- Modify
boot.wimimage. - Build new bootable ISO containing the changes using external software (like ImgBurn.
ℹ It is important that we are creating the bootable media, as not any software can do that correctly.
Phase 1
- Prepare files you want to have access to during Windows installation process or note the files you want to change.
- Extract the content of the *.iso Windows bootable media (ex. using 7zip).
Phase 2
To modify the content of the environment you are booted to, you have to modify the sources\boot.wim file. This can be done using built-in Deployment Image Servicing and Management tool (dism). Read more about it here.
❗ Mounting images with DISM doesn't look like regular ISO mounting. It is more similar to Unix mounting style. You won't see additional drives, files are extracted to the directory, so it can be easy to forget about unmounting the image and start removing them by hand. Be careful then - some of the files will still be protected by the Windows, but when you accidently apply the changes later, you could break your WIM file.
- Prepare empty directory where you will mount the image from boot.wim file.
- Open command prompt with Administrator rights and list the available images in *.wim file.
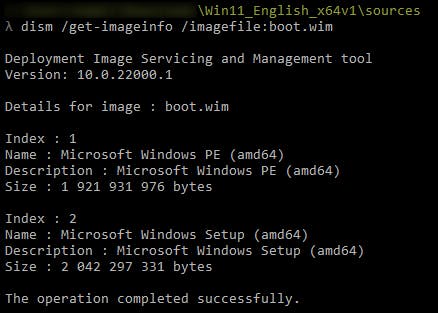
Windows PE (WinPE) is Windows Preinstallation Environment. Read more here. You can think of this WIM file as a docker image with multiple layers. Here index 1 is the blank layer of WinPE and index 2 (or any last index) is the actual environment that is booted.
- Mount the file using
dismwith last index of image found in boot.wim.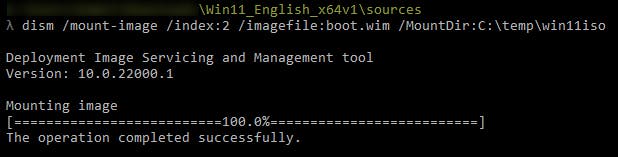
- Apply changes to the image. In my example I'm adding the REG file.

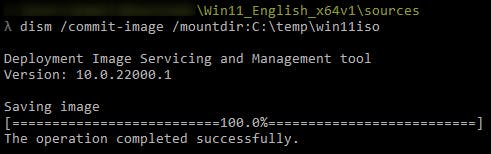
- Commit changes to the boot.wim.
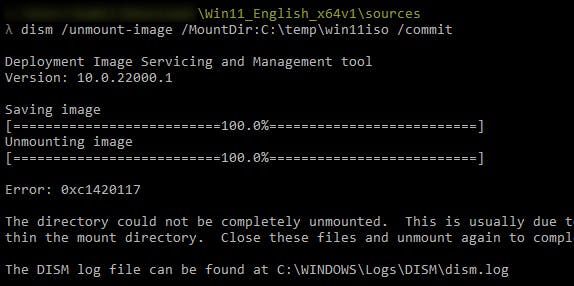
- Close any folders and software that may be using the mounted location. Otherwise, unmounting fails (which is not a failure, you can still correctly apply changes and unmount WIM, see the screens).

- Now when you list available images from boot.wim you won't see another index, but you can see the difference in size. If you want to double check, you can mount the image once again, inspect the files and unmount.
Phase 3
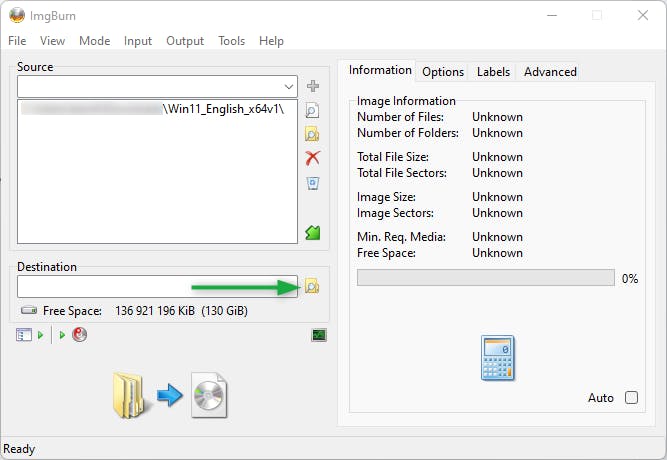
- Start ImgBurn (or any other software able to create bootable media).
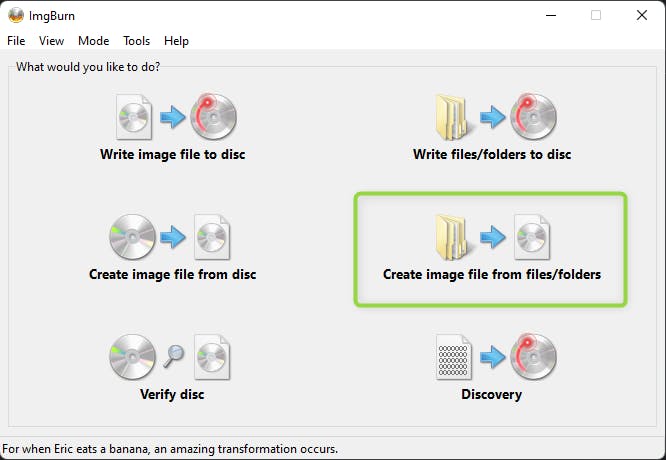
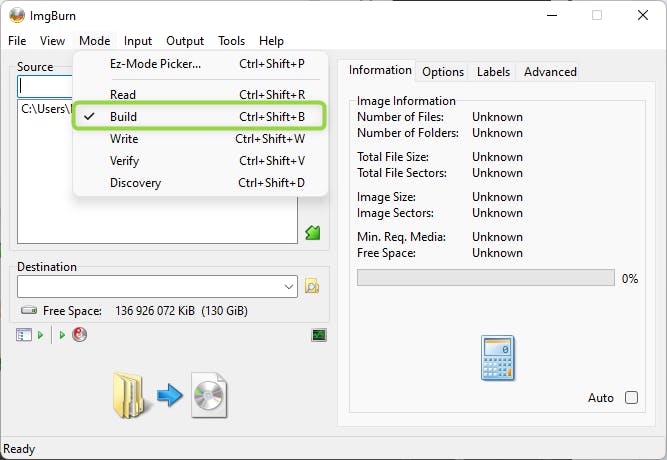
- Ensure Build mode is active. Choose source files by adding folder from phase one.

- Now select destination (final ISO file).
- Go to Advanced -> Bootable Disc settings and set the values as below.
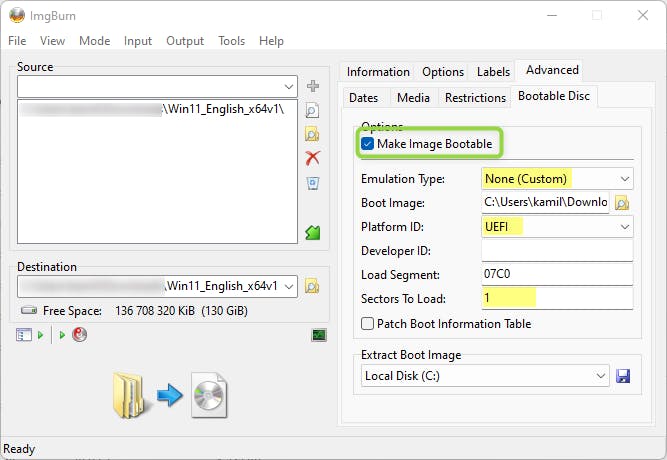
- Browse for the boot image (
efi\microsoft\boot\efisys.bin)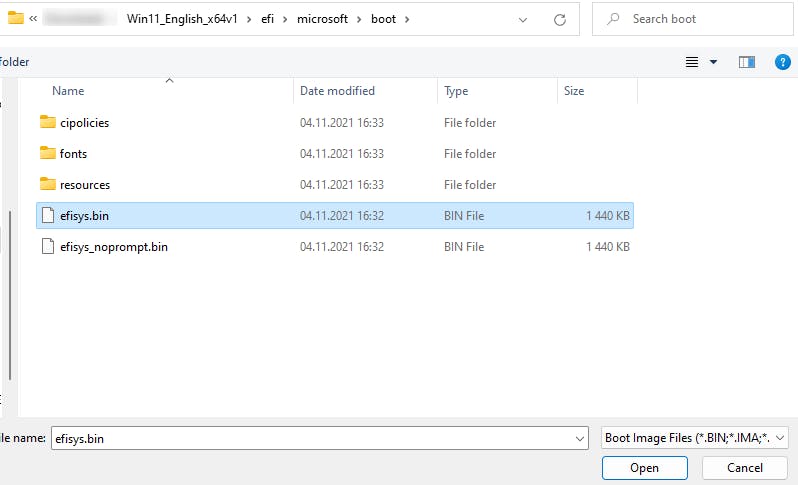
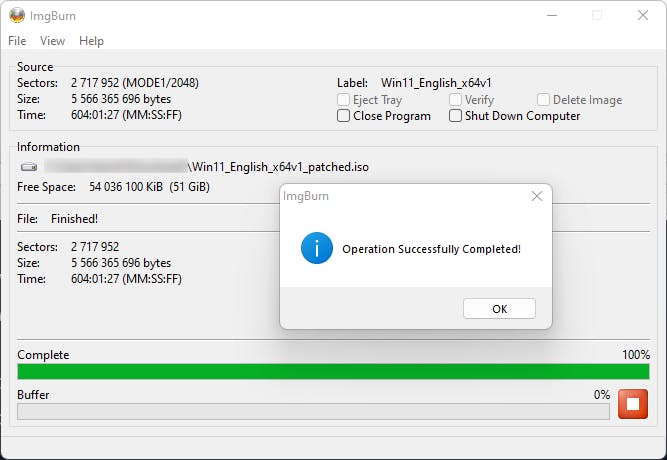
- Now everything is read, so you can press the big image on the bottom left of the window to start creating the image file.
ℹ During process ImgBurn will ask some questions - you can safely assume it is right and agree to changing some modes or adding labels to disc :).
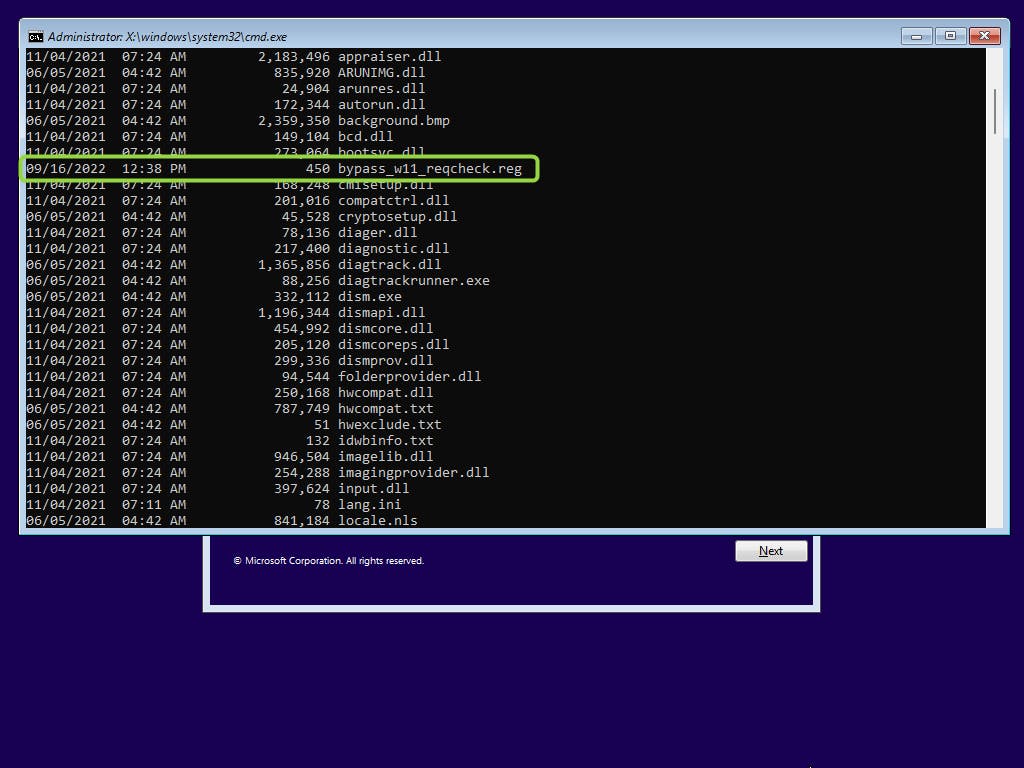
Verify
- Mount the patched ISO in virtual machine (or just live machine).
- Boot into Windows Installer.
- Launch Windows Setup Command and verify the changes are applied.