


How to install Kali on the Virtual Machine
Fresh installation with partitioning details


Download system image
Go to Kali download page. For this guide, I'm choosing the bare-metal option because I used to this form of installation, and it gives me always a bit more control over the process.
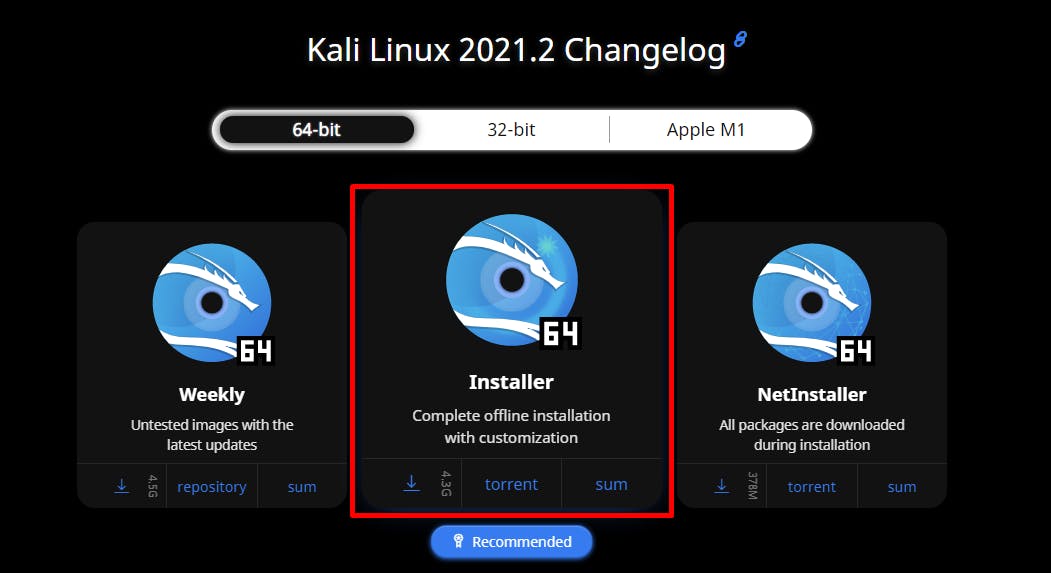
This way, we will be proceeding as if we have an installer disk and a clean workstation without OS installed.
Validate checksum
We are going to deal with an offensive security oriented system, so it is especially crucial to verify that the file was not corrupted or altered in any way. Follow the steps described in How to install Kali on a Raspberry Pi: Download image.
Create new VM
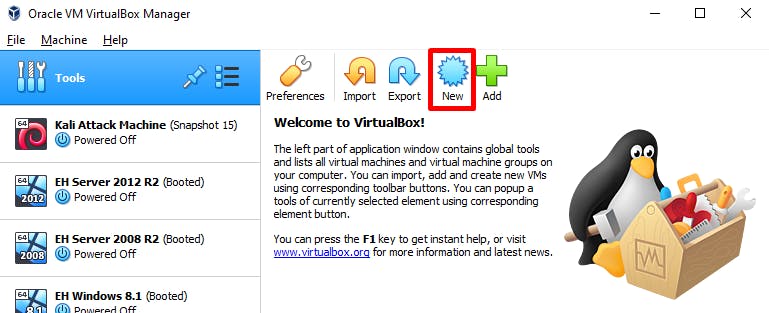
There are various option when it comes to dealing with virtual machines. I like to use Virtual Box because it is free, not limited to number of machines and never failed me.
On the main window, click New.
If you don't see this button, you can also choose Machine -> New from the menu.
Because Kali is a system based on a Debian distribution we can choose the appropriate preset from a dropdown.
Name of the machine can be changed later, but folder where the machine is located will stay the same. It can be moved to the different folder (ex. that correspondes to the new VM name) but it is out of scope of this guide.

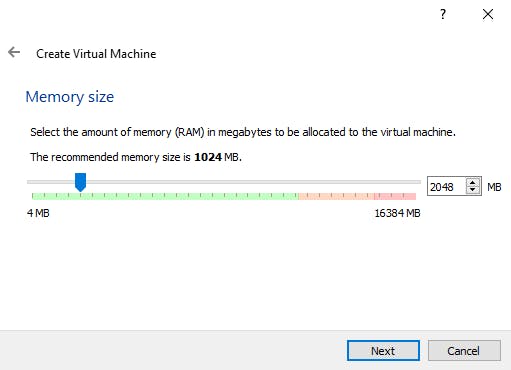
Official recommendation for this kind of install is at least 2 GB of RAM and 20 GB of disk space.
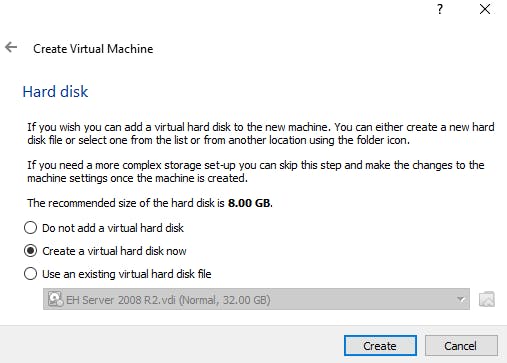
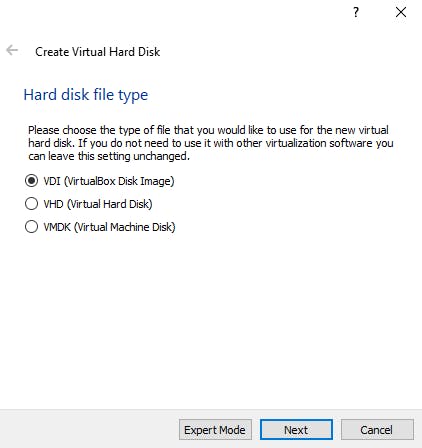
You can choose the disk file by yourself - I tend to use VDI for no specific reason.
Now. Because I know I will be extending the disk in the future I can choose the dynamic allocation right now, but if you already have the fixed size disk - it can be converted to the dynamic (or more accurately it can be cloned as dynamic).
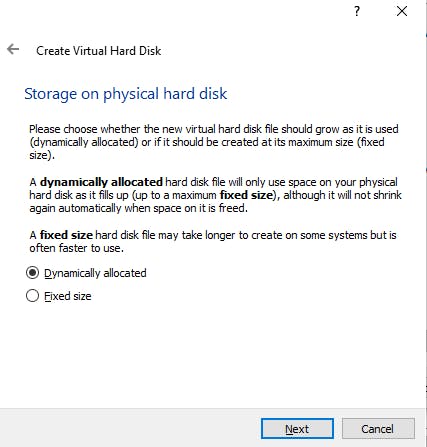
Dynamic allocation has a nice property that you can specify its size that will be seen, but the real size that VDI file takes space is the actual usage of the disk. If it is not clear right now, it will be later.
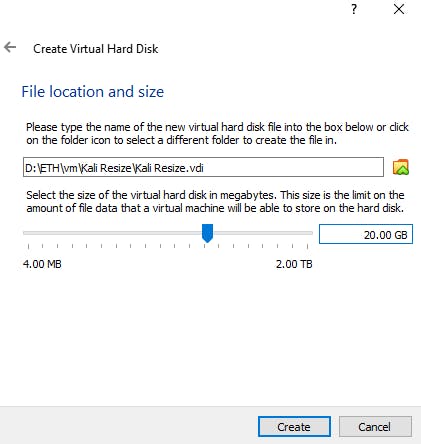
Because we are following the recommendation, let's select the 20GB disk space.
If you don't want to resize the disk later, choose 50GB or 100GB (even better, and optimal in 2023).
Now VirtualBox is preparing everything, and we have our machine visible on the list of available boxes.
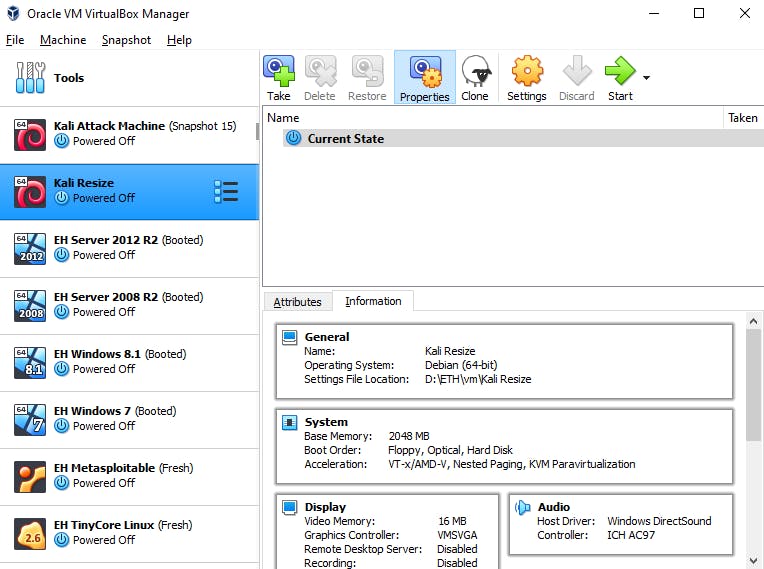
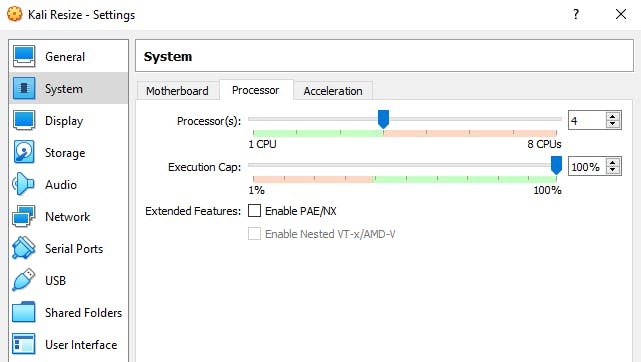
You can ask a question: "we have chosen the RAM, the disk - what about CPU cores?". And it is a good question. Virtual machines tend to be flexible, so at any time, the machine is not powered on, you can specify these parameters in the machine settings. Go to Settings → System and select at least 2 cores - I find that my setup works better at 4 cores.
Network interfaces
This topic is so wide that it deserves a separate article. You can find a great elaboration on the Nakivo blog. I want to have an Internet access from this VM, so I'm leaving the default NAT.
Install Kali from image
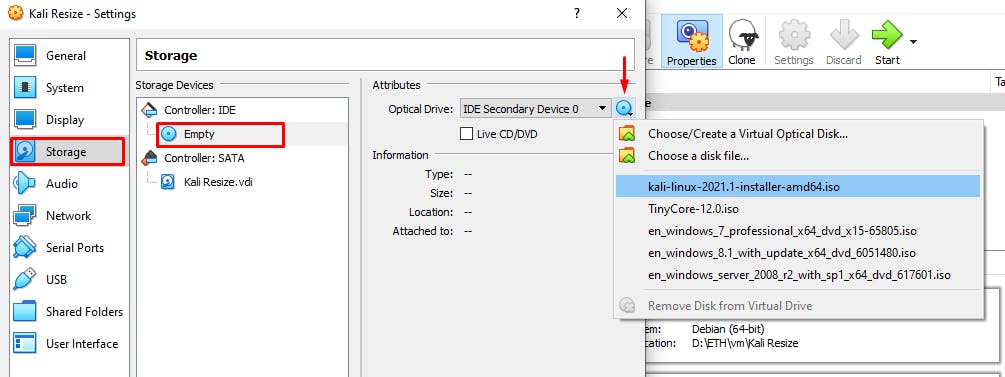
Because we don't have any boot information saved on the disc and nothing mounted in the IDE controller, when you launch the VM right now you will see the popup to choose boot disk and if continue to cancel we won't go further with that.

Select the downloaded Kali image installation media by going to Settings → Storage, and mount the *.iso in the empty IDE device.
Now when you launch the machine you will see the installation menu.
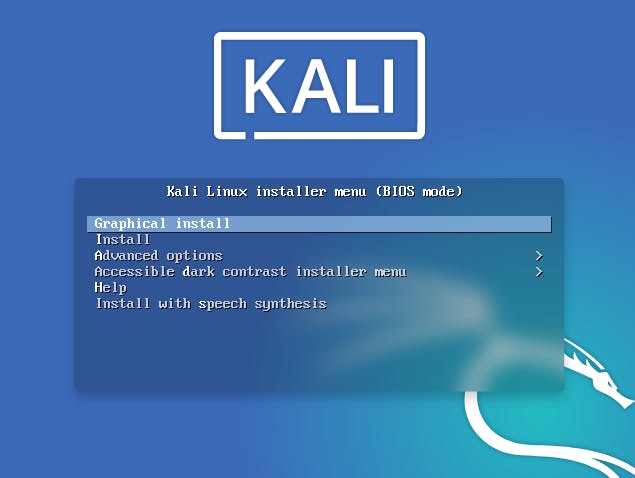
I choose the Graphical install.
Don't worry about mount fails - these are completely normal phenomenon.
Next steps are pretty straightforward.

Choose partitioning method
This is a frequent topic of discussions - should I use LVM or not. Simple answer - yes, you want. Longer and more correct answer - it depends. A significant advantage of LVM is ease of repartitioning with minimal (but still significant on heavily exploited system) overhead.
I have collected more detailed LVM analysis in Additinal readings section
As you can see, there are two options - LVM and LVM encrypted.
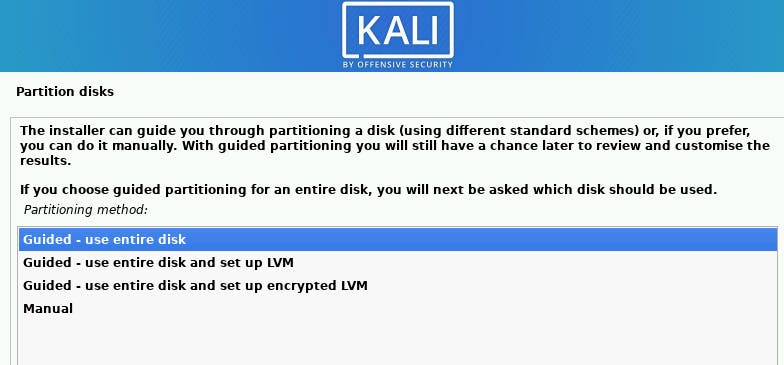
In my opinion, the encryption option has more sense when you are installing Kali on an actual device not the VM (of course, unless you run VM on a laptop). In case your physical device got stolen, your data is most probably safe.
The second thing to consider is what this system will be used for. If you are planning to store there some sensitive data, especially external party ones (for example results of your bug bounty hunting) remember that you are responsible for securing that information from the unprivileged eyes. Encrypting the disc requires you to remember and enter an additional password each time the VM is booted. There is also some (little) performance hit on I/O operations, as would be expected, because data are encrypted on the fly.
For the purpose of this guide, I will choose encrypted LVM.
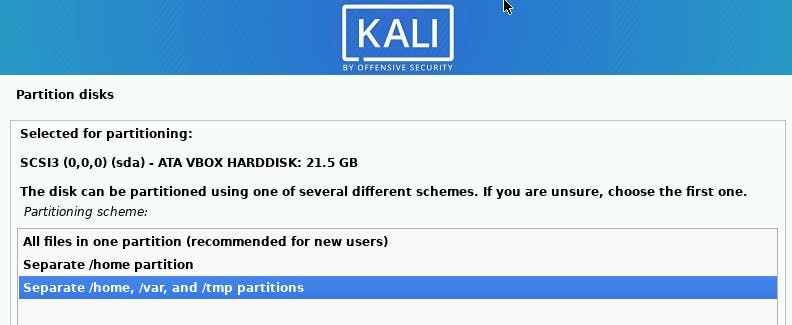
Generally, separated partitions are recommended because
you can upgrade or change distribution without losing your data from
/homehaving
/varand/tmpat separate partitions prevent/from filling up (ex. in case malicious process is running)separated partitions can be mounted as read-only, where otherwise it would be difficult to achieve
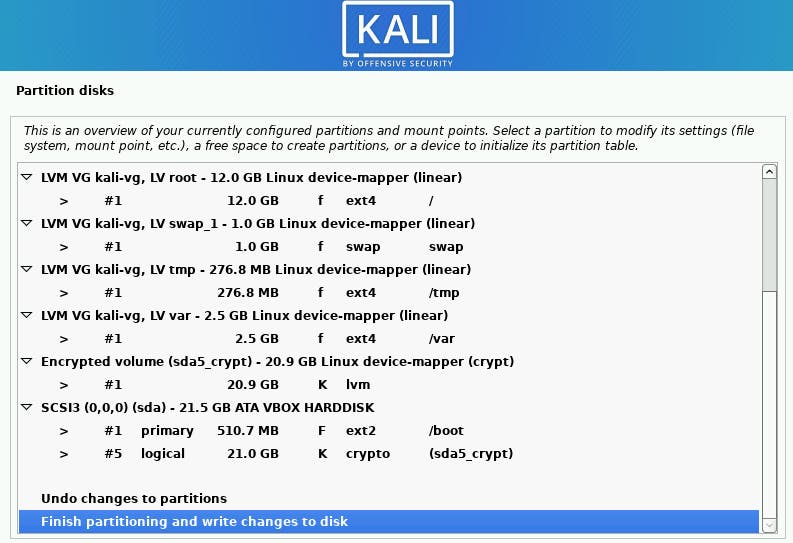
In the next window, select Yes if you are satisfied with the settings and let the installer create your LVM partition.
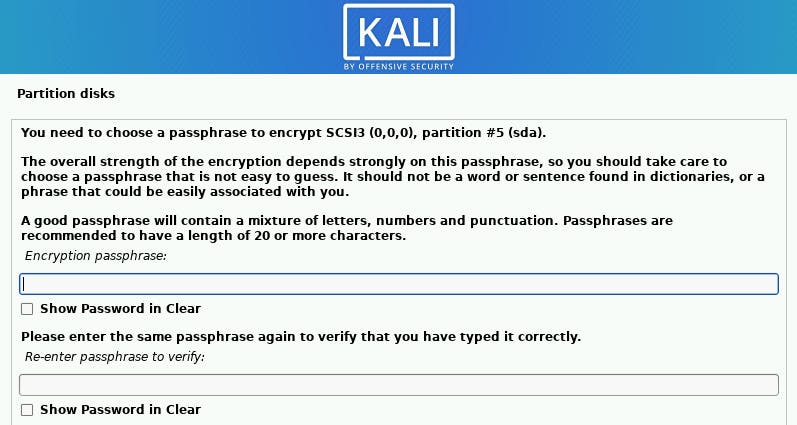
Because I have chosen encrypted disk, I am prompted to enter the 20+ character long passphrase. I'm using my KeePassXC to generate a strong enough phrase.
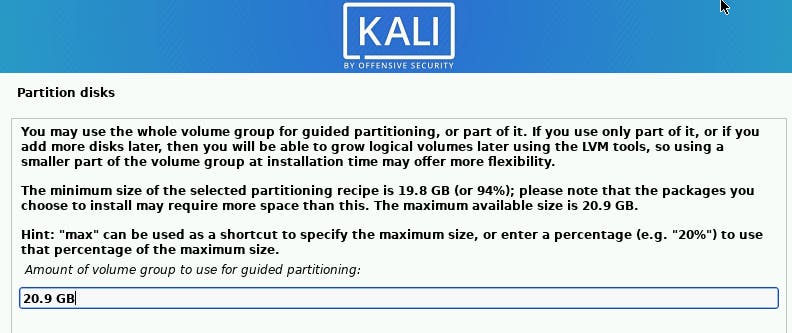
I am using the whole available space
And finally leave Finish partitioning to write changes to disk.
Additional software
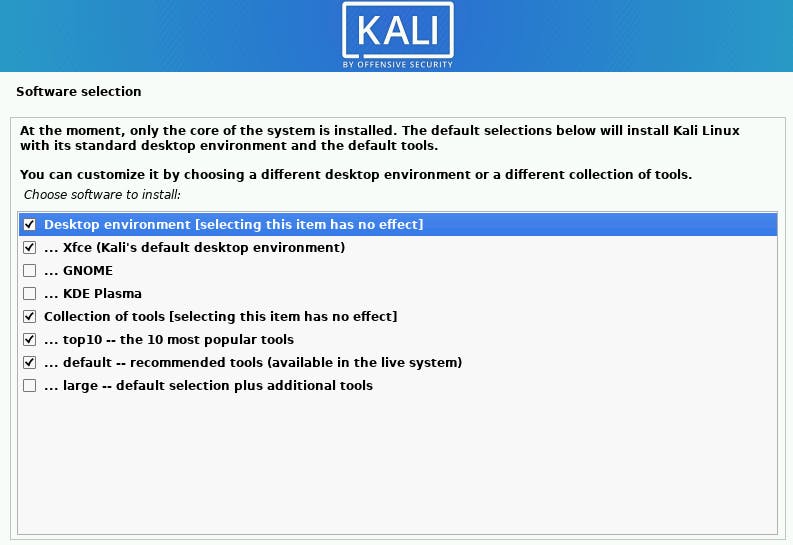
I'm a fan of installing only software I need, but here to save time, I can consider choosing large.
During the installation this time I've got the error on this step. Tried to fix that, but finally I've chosen the Abort installation option and tried without choosing the
largetools pack. Please let me know in the comments if it was the same case for you.
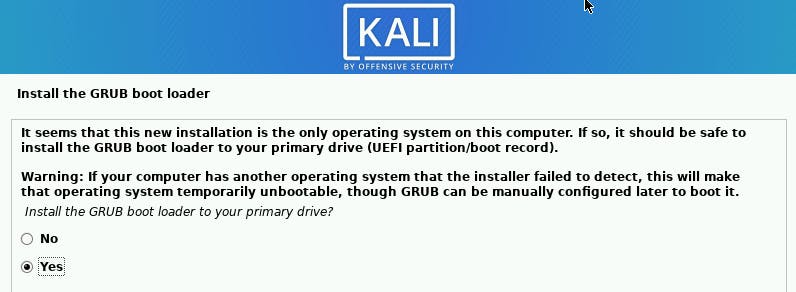
Follow screenshots to finish installation.

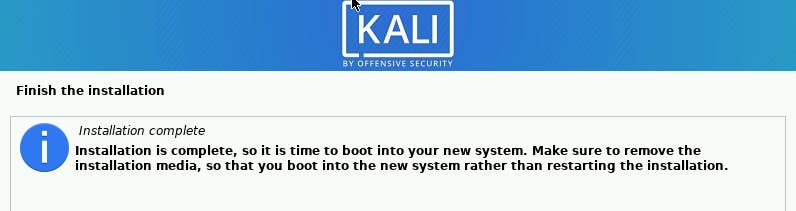
Last steps
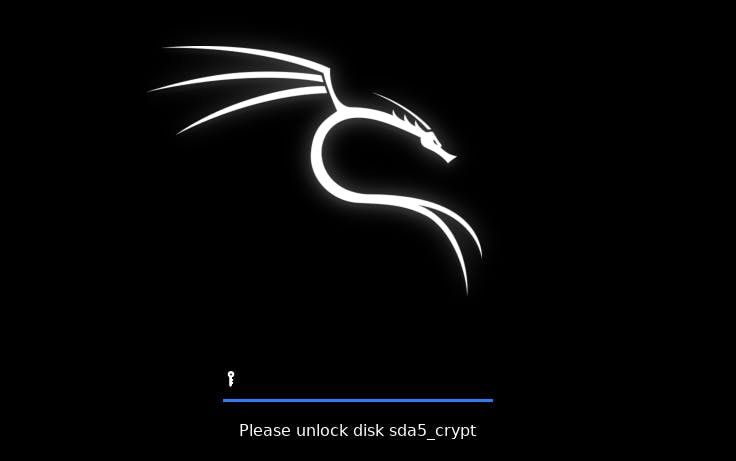
Now, when you boot into the system, you have to unlock the drive first (if you have chosen the encrypted drive option). After that, we can check for example how installation process partitioned our directories.
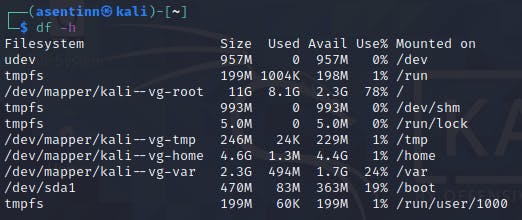
As we can see, it doesn't look good - 78% of root partition already used and even without running initial updates. Let's see how it will look afterwards.
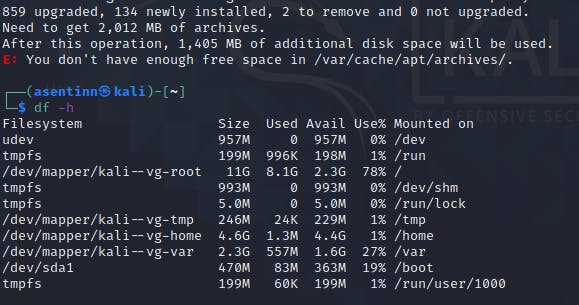
And we hit the limit. In the next article, I'll show how to resize disk.
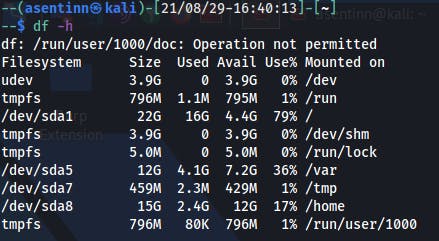
For example, this is how it looks on my 5 month's personal installation:
Additional readings